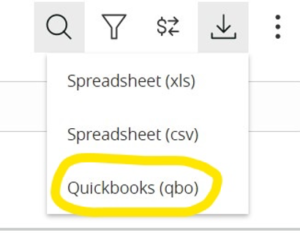
How to upload your account transactions using WebConnect into Quickbooks:
Overview
This is a walk-through of how the Intuit Web Connect process for Quickbooks works.
Please know that your version of Quickbooks may differ from the instructions below.
Steps to Use Web Connect
Preparing your Account Transaction file for upload
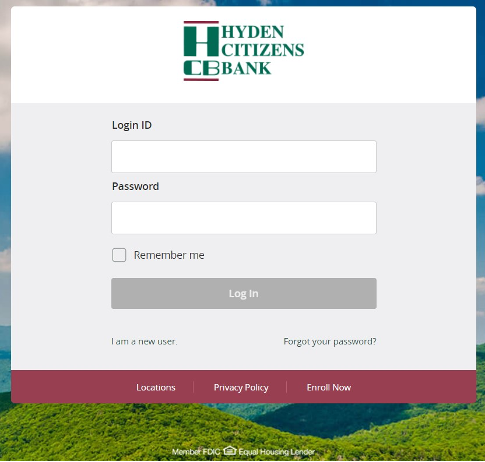
- Log into your Hyden Citizens Bank Online Banking.
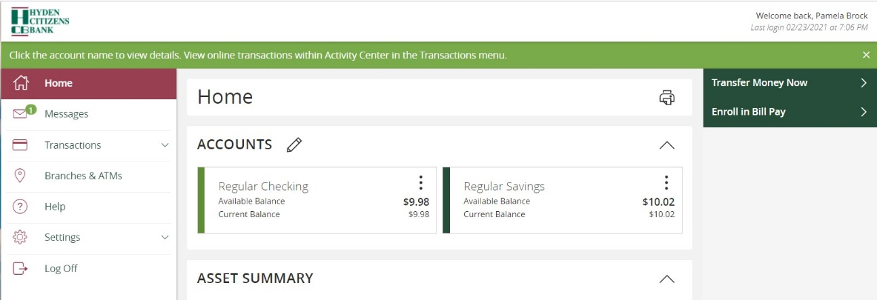
- From your home screen, click on the account you would like to upload transactions into Quickbooks from and open the Account Details page.
- Click the download button to download transaction history.
 |
 |
If you are using Firefox, a window will open asking if you would like to open the downloaded file with the default program. If you use another browser, double-clicking on the downloaded file will do the same.
Example:
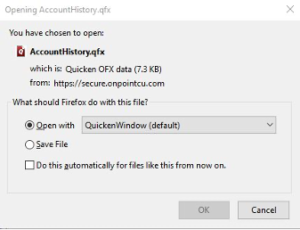 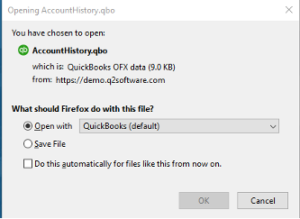 |
Choose the correct default program for the file type and click OK.
- You can save the file to your PC and upload following the instructions below. Or, if you open the file, Quickbooks will open and you can begin the upload process. (this may depend on your version of Quickbooks).
How to Upload your Bank File using Quickbooks WebConnect
1. Login into your Quickbooks Account or open it on your PC
2. Choose Banking or Transactions (depending on the version of Quickbooks you are using) and select Banking

3. On the Banking page in Quickbooks, you will select Upload from File from the drop-down box in the right-hand corner.

4. Next, browse to find your file then select Next in the lower right-hand corner of the screen. Remember to choose WebConnect for your Quickbooks upload.
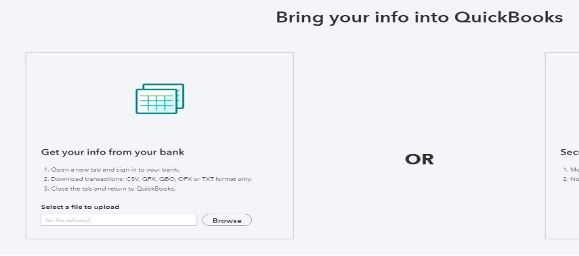
5. Lastly, you will import the transactions in your Quickbooks system and begin reviewing them and correctly assigning them for your records.


